Showing posts with label Chalkboard. Show all posts

Friday, March 14, 2014

Crafty Stuff

Hello blog world!  Wow.  It has been almost one year since I last posted here!  Yikes!  Time really does fly when you are having fun.  I don't have any excuses for not posting for so long other than life is busy!  Even though things have been crazy busy around here I still manage to get my craft on when I can.  I decided to do a few posts with some pics of craftiness from the past year (I have been trying to remember to take pics when I do make something).

Here are the teacher gifts I made for the girls teachers for their end of the year gift last year:  
 I had gone to Utah in May with some friends & we went to this awesome wood/craft store called The Wood Connection.  I picked these cute wood pencils up at that store.  Then I just painted them, added pink glitter to the eraser, tied some silver ribbon around them & put each teacher's name on the pencil in black vinyl.  They turned out great!

When we moved to our new house the big girls decided they wanted to have their bunk beds separate for a while.  I decided they needed something above their beds.  But I didn't want anything too heavy (hello, we have earthquakes here!) so I just painted a canvas in a pink that coordinated with their bedding, painted a wooden letter of their initials white & glued it on the painted canvas:

 The pictures are from my phone & they are horrible!  Ha ha ha!  But they look really cute in person.

Then I painted some Ikea wooden spice racks white & we hung them on the wall next to each girls bed so that they could have a little shelf to put their reading books on:
 I know you saw that idea on Pinterest too.  But it works out great!  They love their little shelves.  Oh & the cute pink reading lights are from Ikea too.

My Aidynn has always wanted long hair.  She talks about it all of the time.  So for her 4th birthday last July I made her a Rapunzel braid:
 Isn't she darling?

Here's a better view of the braid:
 This was so fast & easy to make & it was by far her favorite gift.  It has definitely gotten a lot of use!  To make it I just braided yellow yarn, tied it with some pretty lilac ribbon & then hot glued some fake flowers in different shades of purple all over it.

I made myself a necklace for our family photos:
 I just used wood beads in different sizes & painted them a pretty aqua color.  I strung them onto ribbon & that's it!  It was an easy & inexpensive way to get exactly what I wanted to go with our colors for our family photos.

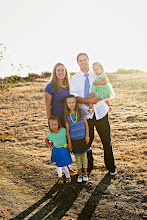
Speaking of, here's our family photo from last July:
I also made Aidynn a yellow wooden bead bracelet to wear.
(Photo credit:  Shari Hanson of Shari Hanson Photography)

In September we had our annual back to school dinner the night before the new school year began.  Every year it seems I add just a little bit more to it which is fun.  I totally got the idea for the apple plates off of Pinterest.  They looked so cute on our table: 

The chalkboard we use every year on our first day photos:

We also got the easel out for the girls to color on:

And they love coloring on the table when we cover it with paper:

Also inspired by Pinterest, cupcakes decorated like apples:

The annual dinner?  Spaghetti, zucchini & garlic bread:

I made my niece some thank you cards for her nautical themed baby shower:
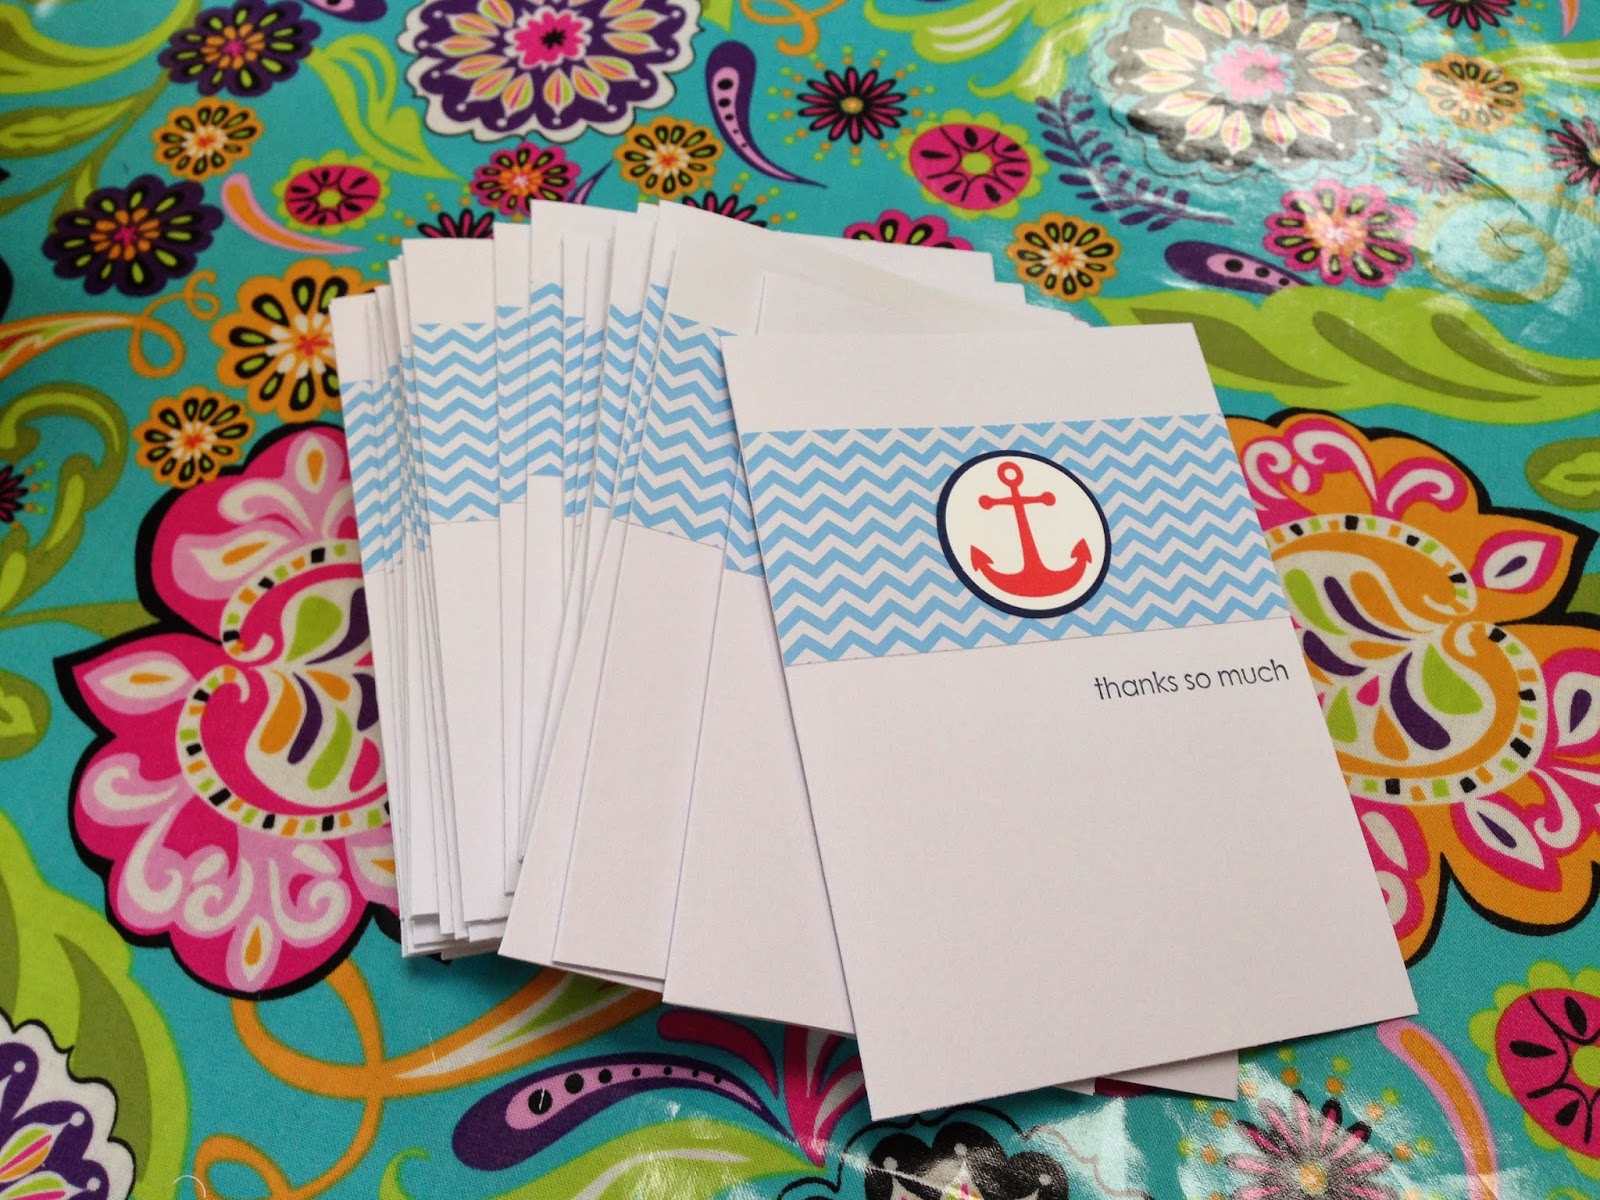
 Simple is always nice.

And a Christmas photo of these 3 beauties:
They keep me busy, but I love them so!

Well, that takes care of some of the random crafts from the past year.  Stay tuned for the sewing & baking adventures!

Friday, May 25, 2012

Personalized Chalkboards

I can't remember if I mentioned this before or not, but my calling at church is the Additional Relief Society Meeting Coordinator.  What is that?  I am (with the help of a large committee of women) in charge of planning & carrying out monthly activities for the women in my church.  The activities vary throughout the year, always having a spiritual message, sometimes we have dinner, sometimes just snacks or treats, sometimes we learn a new skill, sometimes we make a craft, sometimes we complete a service project.  It's a lot of work (we have anywhere from 50-90 women at each activity), but it's a lot of fun as well.  I have a really great committee of creative & truly inspired women to help & these activities would not get done without them!  

Our activity for May was centered around President Uchtdorf's talk "Forget Me Not."  Such a great & memorable talk!  We invited the Young Women to attend as well (girls ages 12-17) & we served dinner (teriyaki chicken bowls & salad), we had a speaker (who used the "Forget Me Not" talk) & we made a craft (memo boards).  We wanted a cute, useful craft that the women could make that evening that wouldn't break our budget!  So one of the ladies came up with the idea to do memo boards.  We provided the boards & then a variety of supplies so that they could make the boards their own.  We had chalkboard paint, metal sheets that they could glue down on the board to make them magnetic, paint, scrapbook papers, die cutting machine, etc.

Here is the sample I made for our display case to show them one idea for our craft:

It was really simple, but went well with our theme.  I just taped off the edges of the board & painted the inside with chalkboard paint.  Then I used my Big Shot to cut out the letters & the flower.  I glued them down & attached a big yellow button in the center of the flower.  Easy!

We had a few extra boards after our activity, so I brought a couple home.  I made my girls their own personalized chalkboards.  This time I painted the boards first, then I drew a simple template that I traced onto the board & then filled in with chalkboard paint.  And then I used my Big Shot to cut out their names with some cute polka dot scrapbook paper & glued them down.  I did cover the letters this time with some Mod Podge since these boards are going to be used a lot by little hands.
They turned out pretty cute:
And just give them some colored chalk & the girls are entertained for a while!  Awesome!

Thursday, November 17, 2011

"Yay for You" Cupboard Door Chalkboard


A couple of weeks ago our ward (church congregation) had a Super Saturday & this was one of the projects. What is a Super Saturday? It's a day full of fun crafts that you can sign up to make. I signed up for the cupboard door chalkboard. And then my hubby had to go into work & I didn't make it that day. But I was still able to get the cupboard door & do this project at home.


One of the ladies had gotten a bunch of cupboard doors for only $7 each! This one was unfinished so I first threw a coat of primer over the entire thing. Then I painted it the soft blue color. I got this color in a sample size at Home Depot, it's a Martha Stewart paint & was less than $2 & I still have a bunch leftover. Then I painted the raised center of the cupboard door with chalkboard paint. I ended up doing 4 coats of the chalkboard paint because I wanted to make sure it would work really well. Then I hot glued on some clips onto the bottom that I got at Staples.

Now the cupboard door that I chose was a big one. I mean, really big. I took this picture just to show you how large it is. It's all hung up in it's new spot in our kitchen above the girls' little table:

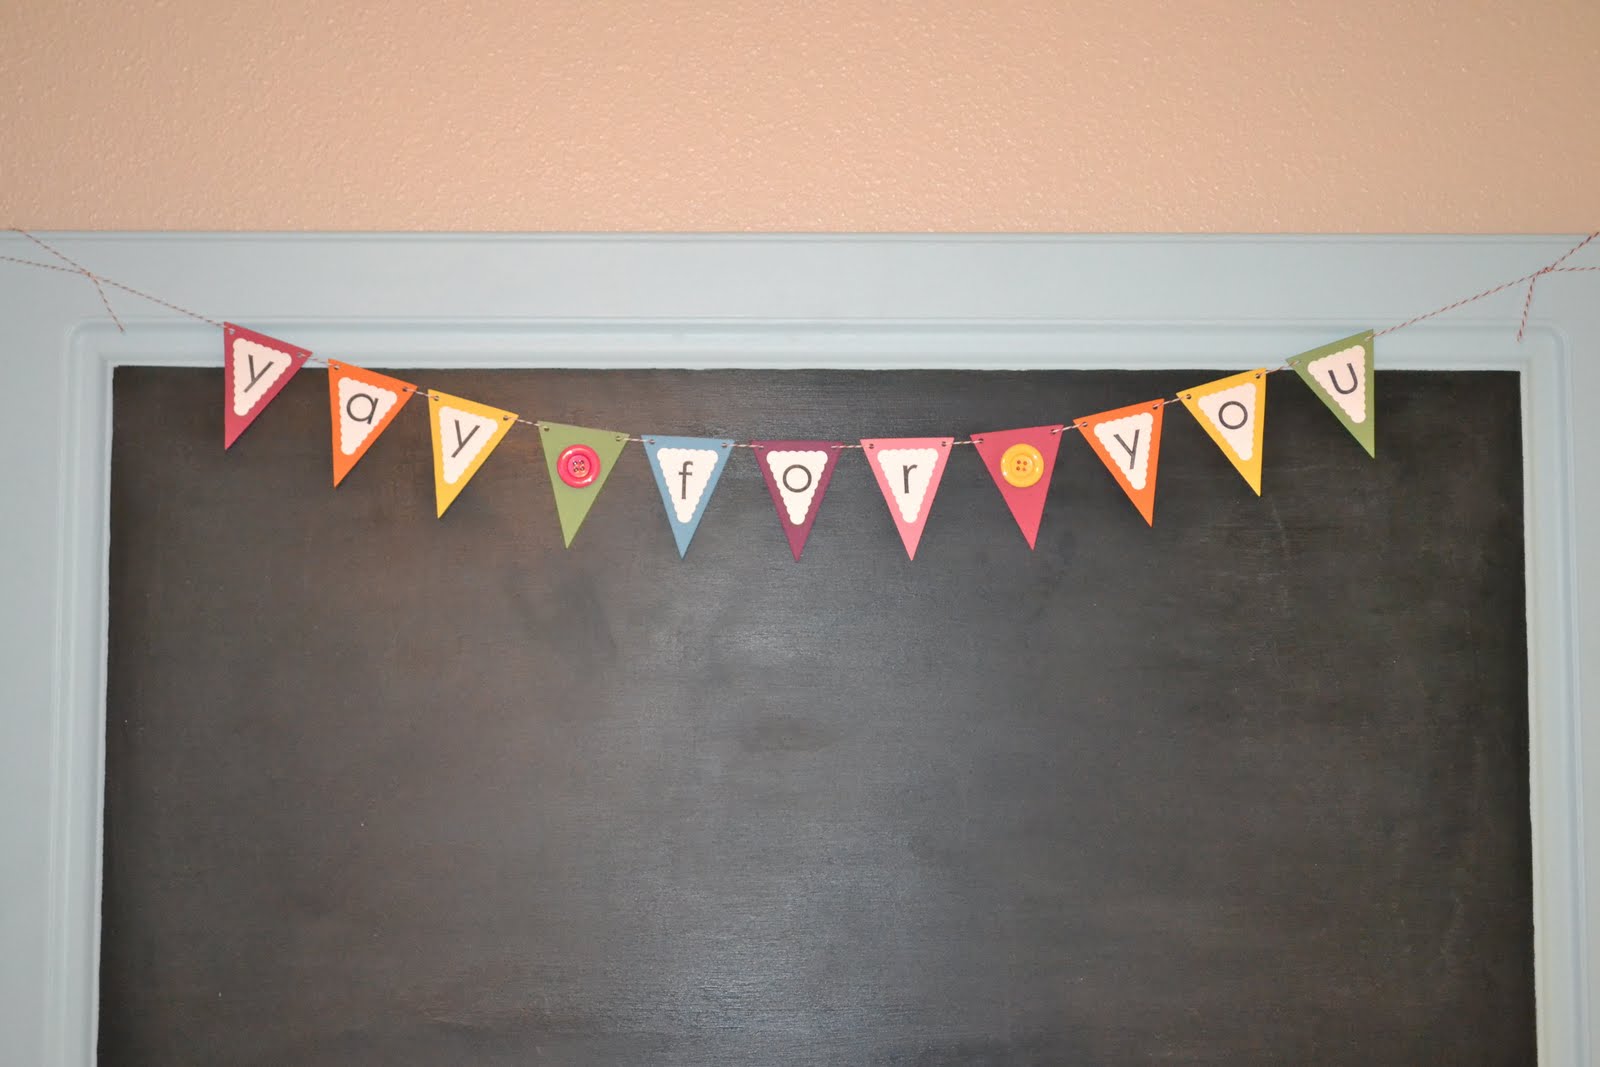
I had decided that I wanted to add some kind of sign saying "Yay for You" on it. I wanted this chalkboard to be a place where our family can write all of the good things we've been up to or the things we are proud of. And also a place where we can hang favorite artwork or awards or anything else special to us. I want it to help us do a little more positive reinforcement around our house & help our girls to strive to do well. So I decided to add a cute little pennant banner at the top that says, "Yay for You":
And I used my Big Shot so cutting out the pennants was super fast & easy. I love how the banner turned out! The colors really brighten the whole thing up & make it more fun.

Here it is already being put to use:
My kindergartner loves it! I think this is going to work out just great!

Thursday, September 8, 2011

Back to School Celebration

My first born started kindergarten yesterday. I don't believe it! {sniff, sniff} She was a little nervous to start kinder because it's full day (8:15 am-2 pm), at a new school, with a new teacher. So we decided to have a back to school celebration the night before school started to help her get excited for her first day. We didn't do anything fancy, just decorated with some stuff we had around the house already, but she definitely had fun & felt extra special. It turned out great!

I used my Silhouette to cut out the ABC, apple & 123 to hang on the wall:
We covered the kitchen table with the roll of paper from our easel. The girls thought it was so fun to color all over it & they couldn't even wait to start:
We also added a basket of apples & the alphabet letters from the fridge to decorate our table.

We made some cupcakes-Kaylee picked out the Funfetti cupcakes & frosting & I made some simple apple toppers for them:
We also made her favorite dinner-spaghetti, zucchini & garlic bread. We talked about how fun school is & then we got her school supplies ready & picked out her outfit for her first day. Then my husband gave her a father's blessing & I can tell it really helped her to feel comforted about starting kindergarten.

I have been seeing so many cute chalkboard signs all over Pinterest lately for various things-as an announcement for pregnancy or engagement, showing how far along you are in a pregnancy, sending a birthday or holiday message & even as a way to document what grade your child is in. I love the chalkboard idea! So I went to Michael's a few weeks ago looking for a plain, small chalkboard to use. Of course, they didn't have any. But I did come across this plain, inexpensive clipboard & I got an idea. I simply taped off a nice rectangle, painted it with about 3 layers of chalkboard paint & then embellished it with a cute apple stamp layered with a punched circle & scallop circle & then tied a little piece of ribbon through the hole.

Here it is:
It was so simple & cheap to make & we can use it year after year, girl after girl as a fun way to document the beginning of each new school year. I love the idea of having them write their own names on it so you can see how their handwriting changes as they grow!

And here she is on her first day of school, our brand-new kindergartener:
She looks so grown up!
Aidynn & I sure missed her during the day!

Thursday, April 21, 2011

Princess/Arts & Crafts Birthday Party

I know, where have I been? Well, I had been planning & preparing for a fabulous princess/arts & crafts party! My first-born turned 5 yesterday & we celebrated with a birthday party for her last Saturday. This was the first year that she really wanted to have a party with some of her friends. And what better way to celebrate than to combine two of her favorite things-princesses & arts & crafts! What I loved about this party was that it was really easy to put together & a lot of the stuff we already had at home.
{Beware-this post is a long one!}

To start I made the invitations through Shutterfly. I had an awesome coupon code for 10 FREE cards & I needed 9 invitations so it worked out perfectly!
And they even had this darling princess crown design:
(Don't mind the smudges, I just blurred out our address & phone number!)

We were hoping for nice weather because we wanted to do the party in the backyard & it couldn't have been a more beautiful day-warm, but not too hot!

Here is how we set it up:


We used some paper from our Ikea easel & painted a birthday banner:

I just covered the ugly folding tables with some cheap plastic {pink!} tablecloths. I only wish I had something I could have covered the ugly folding chairs with, but oh well! I had bought a large generic princess coloring book (11" x 14") months ago & thought this was the perfect time to use some of those coloring pages. We put one at each seat to serve as a placemat, plus the girls could color on it while we were waiting for all of our guests to arrive. We did put a little piece of masking tape on the back of each corner to hold them in place on the tablecloth. Sometimes we get a little breeze in the afternoons. We also put some crayons in paper cups for them to use on their placemats:

A close-up of one of the spots:

We got some clothesline rope & used our staple gun to attach it to different areas of the fence & put a bunch of clothespins on it so that the girls could hang their finished paintings up to dry:

It also made for some really cute decorations when they started hanging them up there:
{Painting was, by far, the favorite activity for all of the girls & I love seeing their creativity in each painting!}

I also made each party guest an apron. This was the first craft we did. The girls colored on the apron using fabric markers (which I bought using my coupons for JoAnn's which saved $$). The fabric markers were great because they were easy for the girls to use & they dried really fast. We hung them up on some clothesline too until we were ready to use them:

I bought a pack of these canvas aprons at my local teacher supply store which was much cheaper than buying them individually. Then I used my {awesome} Silhouette machine to cut out the crowns & the names in some heat transfer vinyl which I then ironed onto the aprons. So easy & they looked really cute:

The next craft the girls did was to decorate a princess hat. I used a princess hat we already had in our dress-up bin as an example & made the princess hats out of felt, interfacing, ric rac, tulle & some elastic for the strap:
Then the girls used foam shapes & rhinestones to decorate them how they wanted. The foam shapes were adhesive & stuck really well, but we did have to use a little glue to attach the rhinestones. Luckily we had plenty of adult supervisors to help with that & it wasn't as messy as I had feared!

The next craft they did was to make some beaded necklaces. Sadly, I didn't get any pictures of them doing that!

Here is the birthday girl in her decorated princess hat & apron:
{She just had so much fun!}

We also set up our easel with some sheets of paper & paint so that the girls could paint pictures whenever they wanted:
Like I said, that was probably their favorite activity! And when the paintings were dry, we rolled them up & put them in their goody baskets for them to take home.

Here are the goody baskets:

I found these cute baskets at Target in the $1 bin a while back & I knew they would be perfect to act as little artist bins for the girls to take all of their goodies home in. I was going to use my Silhouette to cut some princess crowns out of chalkboard vinyl (which is really reasonably priced through Expressions Vinyl), but then I found these already made at Michaels for super cheap! I just punched holes in them, tied them onto the baskets with some white yarn & then wrote each girl's name on it with my chalkboard markers:

My first thought for some party decorations was to do some kind of cute paper lanterns, but they are a little pricy! Much more than I had thought they would be! So I have been seeing these tissue paper pom-poms all over the internet lately & they seemed easy enough:
My mom & I made them & they really didn't take much time at all! Plus with the colored tissue paper they looked so great! We used white yarn to hang them everywhere!
We hung on the lights outside, off of the shade cover, off of the ceiling fan in the kitchen over the dessert table, on the umbrella outside:
On the big tree:
They looked so nice!

My daughter wanted a pinata as well, so we found a princess crown pinata at Target that we hung from the tree:

We also had a little "guess how many jellybeans in the jar" game. The chalkboard crown & the small plastic paint jar also came from Michaels:
I just stamped a crown, put some bling on it & punched it out with my circle punch to put on the top of the lid of the jar. I also stamped a crown on the notecards for each girl to use to write down how many jellybeans they thought were in the jar.
Here's a close-up:
{There were 712 jellybeans in that jar! Yep, my hubby counted every single one!}

I'm really bummed that I forgot to get a photo of the whole dessert table all together, but at least I got some photos of the desserts. I made an artist's palette cake:
Some princess crown sugar cookies:
And some princess crown {pink} chocolate lollipops:

I also used my Silhouette to make a little subway art for the dessert table. I wrote words that describe my daughter, nicknames, things she loves, etc. & cut it out in some bright pink vinyl. I already had the flat canvas so I stuck it on that. Then I covered it with a couple of layers of Mod Podge. The canvas was bigger than I had thought it was so I added a pink bow at the top to fill up some of the extra white space.
I really like how it turned out:
And now that the party is over, we can put it up in my daughter's room!

Of course, I had to make a little birthday shirt for the birthday girl too:
I love those $5 t-shirts from Target (sometimes they go on sale too) & then I used my Silhouette once again to cut out the crown & the little heart from some heat transfer vinyl & just ironed them onto the shirt. Sorry for the glare from my flash, but the silver heat transfer looks awesome in person!

The birthday girl all dolled up for her party:
{Oh how we love her!}

And she loved her pretty pettiskirt that I bought her from Fairy Flowers Boutique:
Their stuff is very reasonably priced, super cute & ships really fast!

Whew! Typing up this post may have made me as tired as I was after the actual party! But it was all worth it!