Showing posts with label Home Decor. Show all posts

Friday, March 14, 2014

Crafty Stuff

Hello blog world!  Wow.  It has been almost one year since I last posted here!  Yikes!  Time really does fly when you are having fun.  I don't have any excuses for not posting for so long other than life is busy!  Even though things have been crazy busy around here I still manage to get my craft on when I can.  I decided to do a few posts with some pics of craftiness from the past year (I have been trying to remember to take pics when I do make something).

Here are the teacher gifts I made for the girls teachers for their end of the year gift last year:  
 I had gone to Utah in May with some friends & we went to this awesome wood/craft store called The Wood Connection.  I picked these cute wood pencils up at that store.  Then I just painted them, added pink glitter to the eraser, tied some silver ribbon around them & put each teacher's name on the pencil in black vinyl.  They turned out great!

When we moved to our new house the big girls decided they wanted to have their bunk beds separate for a while.  I decided they needed something above their beds.  But I didn't want anything too heavy (hello, we have earthquakes here!) so I just painted a canvas in a pink that coordinated with their bedding, painted a wooden letter of their initials white & glued it on the painted canvas:

 The pictures are from my phone & they are horrible!  Ha ha ha!  But they look really cute in person.

Then I painted some Ikea wooden spice racks white & we hung them on the wall next to each girls bed so that they could have a little shelf to put their reading books on:
 I know you saw that idea on Pinterest too.  But it works out great!  They love their little shelves.  Oh & the cute pink reading lights are from Ikea too.

My Aidynn has always wanted long hair.  She talks about it all of the time.  So for her 4th birthday last July I made her a Rapunzel braid:
 Isn't she darling?

Here's a better view of the braid:
 This was so fast & easy to make & it was by far her favorite gift.  It has definitely gotten a lot of use!  To make it I just braided yellow yarn, tied it with some pretty lilac ribbon & then hot glued some fake flowers in different shades of purple all over it.

I made myself a necklace for our family photos:
 I just used wood beads in different sizes & painted them a pretty aqua color.  I strung them onto ribbon & that's it!  It was an easy & inexpensive way to get exactly what I wanted to go with our colors for our family photos.

Speaking of, here's our family photo from last July:
I also made Aidynn a yellow wooden bead bracelet to wear.
(Photo credit:  Shari Hanson of Shari Hanson Photography)

In September we had our annual back to school dinner the night before the new school year began.  Every year it seems I add just a little bit more to it which is fun.  I totally got the idea for the apple plates off of Pinterest.  They looked so cute on our table: 

The chalkboard we use every year on our first day photos:

We also got the easel out for the girls to color on:

And they love coloring on the table when we cover it with paper:

Also inspired by Pinterest, cupcakes decorated like apples:

The annual dinner?  Spaghetti, zucchini & garlic bread:

I made my niece some thank you cards for her nautical themed baby shower:
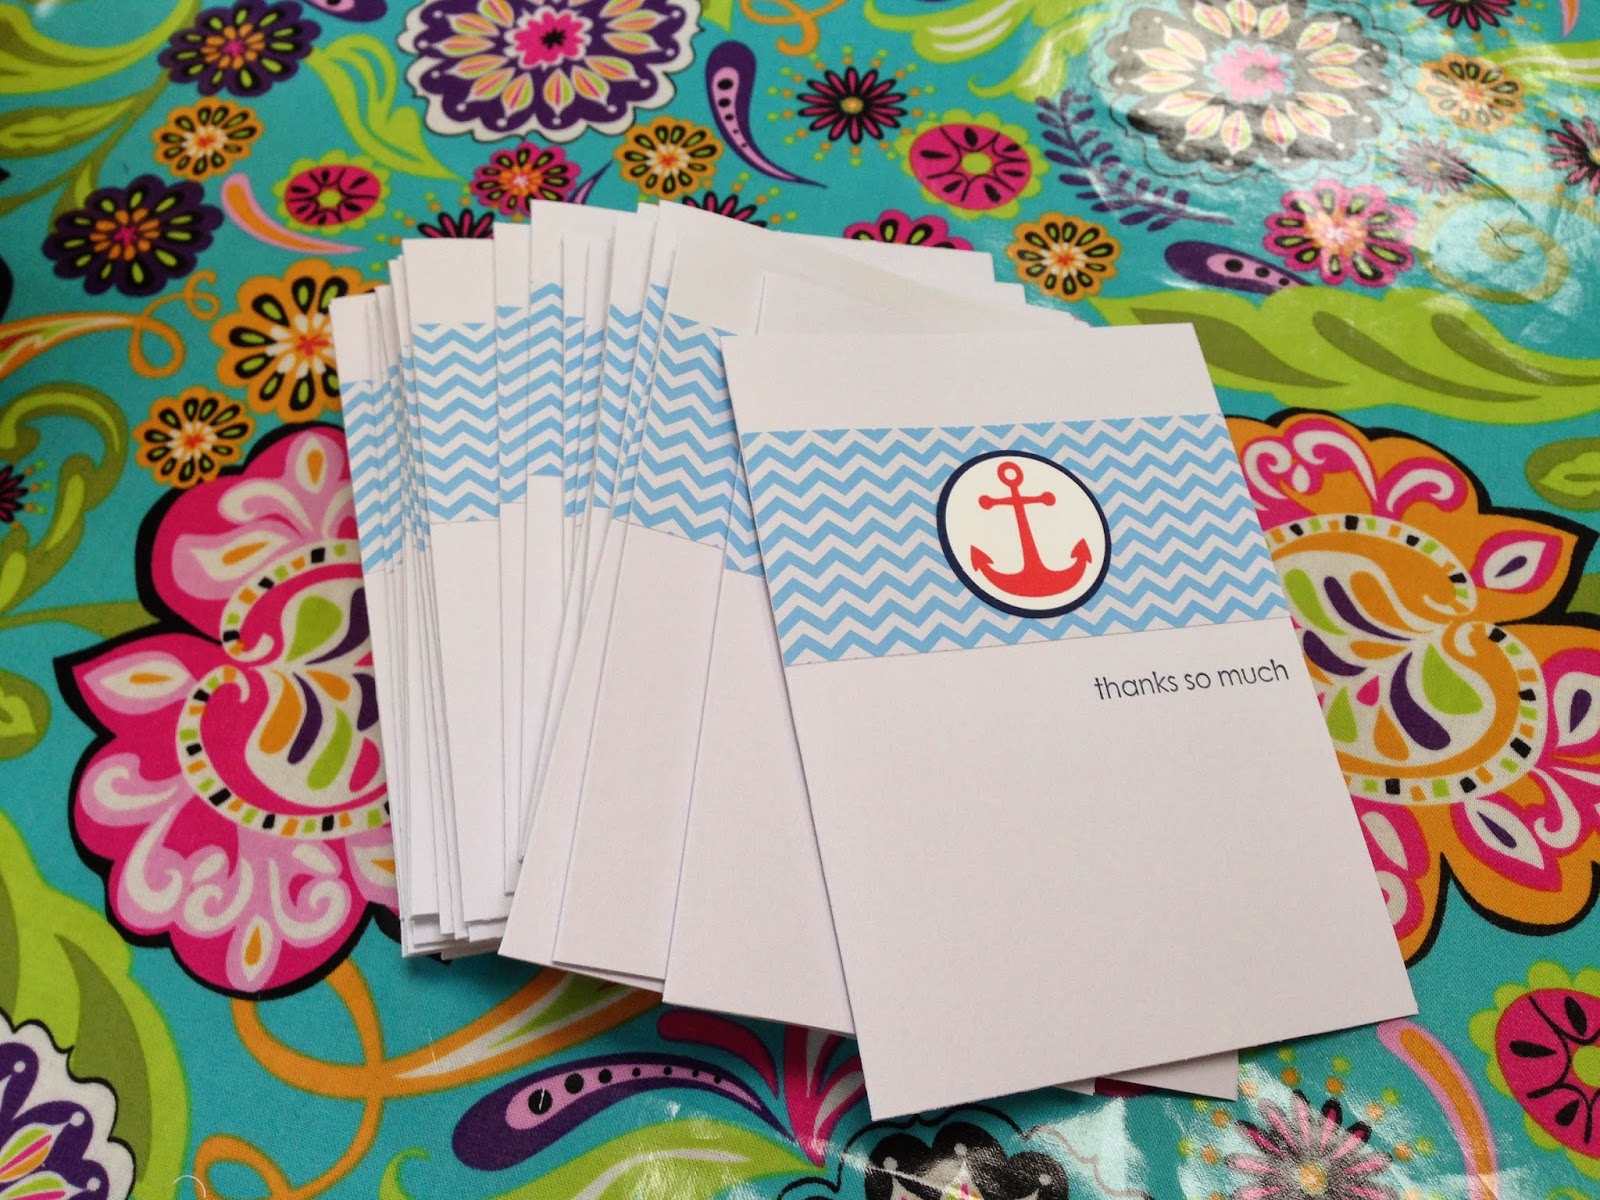
 Simple is always nice.

And a Christmas photo of these 3 beauties:
They keep me busy, but I love them so!

Well, that takes care of some of the random crafts from the past year.  Stay tuned for the sewing & baking adventures!

Monday, April 15, 2013

Random Craft


Did you notice the new header on my blog?  Yes, after having my little blog for 6 years I have decided to change its name.  So long to "One Crazy Stampin' Mama" & hello to "Random Craft."  Why the name change?  Well, I've been thinking about it for a couple of years now actually.  I no longer sell Stampin' Up! products, my crafting has become so much more than stamping & I hardly ever really stamp anymore so I decided to change it up.  I like the name "Random Craft" because that's what I feel I do.  I make random crafts.  I like to craft in general & so you will see a lot of random things on my blog.  Hopefully no one else is already using this title for a blog, I tried looking & it didn't seem like it.  Anyway, I'm trying it out.

So...on to my random crafts of late.

A few weeks ago I decided to make a cushion for the bench in our entryway:

We have had this bench FOREVER.  And it has taken lots of abuse from my children.  There are sticker remnants on the top, crayon marks, pencil marks, etc.  I wanted to make a cushion to cover up all of the markings & to add some color into our family room.  And I didn't want to sew a cushion cover.  So, thanks to some ideas on Pinterest, I made this really fast & easy cushion.  I bought the fabric at JoAnn's & then I bought some thick foam there too.  (Use your coupons for JoAnn's!)  Then I had my hubby get a piece of plywood for me one day when he was at Home Depot.  They cut it to the exact size we needed for the top of the bench.  I used the plywood as a guide to trim the foam to the same size just using a serrated knife.  Then I just laid the fabric out upside down, laid the foam on top of that, laid the plywood onto that & then started stapling the fabric down with my handy staple gun.  Of course, I went slowly, making sure the fabric was pulled tight & that the corners were folded nicely.  Took me maybe 10 minutes & it was on my bench!

I love it:

Now just as soon as little Quinn (14 month) stops eating shoes we can move our tan show bins back into those cubbies in the bench & it will be much more functional again.

We also spruced up the girls' bathroom a little bit:

Gosh.  Sorry my photos are so dark.  Anyway, thanks again Pinterest for these great ideas!  My hubby hung a wood strip along the entire wall of our bathroom where the old towel bar was.  Then we added 5 simple hooks.  Now we can hang 5 towels up instead of just 2.  It is so great!  Especially when we have visitors staying at our house, everyone has a place to hang their towel to dry.  And I love the shower curtain too!  It nicely covers up our outdated tub/shower combo until we can afford to re-do it.  Thank you Home Goods!  

I also printed out these bathroom printables that I found on Pinterest & stuck them in cheap white frames:

They look cute!  And I love the pops of color they bring into our very tan bathroom.  Just search "bathroom printables" on Pinterest & they pop right up.  I'm still trying to decide what color I want to paint that bathroom...

Also a few weeks ago I managed to find some time on a rainy day to make a few more coloring purses.  I made one for my daughter & then 2 others for her cousins.  They all turned out really cute:


These things are so handy & get a lot of use from my girls.

Here's the crayon side:

And then a simple ruffle on the other side:

I made these ones slightly larger than I usually do so that they can hold a full-size coloring book.  
I have to say it was so nice to have my sewing machine out again.  I just love sewing.  It is so fun creating things from just some simple supplies like fabric & thread.  And it is a great stress-reliever!  Well, as long as the kids are asleep!  

Thursday, May 31, 2012

Updated Recipe Box


I really wish I had thought to take a "before" picture of this!  I stumbled across this old metal recipe box a couple of weeks ago & it was a dingy brown color.  But I thought it was pretty cool & very simple & I knew I could vamp it up a little.  So I just grabbed a pretty blue colored spray paint at Home Depot & gave this recipe box a few coats.  Then I used my Silhouette machine to cut out the label with some black vinyl & the word "recipes" with some white vinyl.  Then I stuck them on!  Easy & it gave this old metal recipe box a whole new look.  And it's another small way to add a little more of this pretty aqua color into my kitchen!  I {heart} spray paint!

Tuesday, January 24, 2012

Ribbon Board Makeover

To be honest, I get bored with my home decor very easily. I don't know why. I do something I love, but then get sick of it quickly & want to change things again. Oh it drives my husband nuts! Especially now with Pinterest there are just too many fabulous ideas out there that I constantly see & want to try for our house. I really try to only make changes when they fit into our budget. I've found that I am pretty content to just change out small, simple decor items & it gives me the updating I need without changing big, expensive items in our house.

The source of my latest irritation-my kitchen. Since we rent I obviously will not be doing any crazy remodels in the kitchen or anything, but it drives me nuts because it is so dark in there. We hardly have any natural light in our house, especially in the kitchen. And I am tired with the color scheme of my kitchen towels/accessories. Isn't that crazy? I know, I am a little nuts. But we've been using the same dark blue & white & yellow kitchen towels for 8 years now. It's definitely time for a change & to brighten things up in the kitchen.

I found some kitchen towels in a pretty bright blue color & thought they would add just the right touch of color to the kitchen. Next on my list was to makeover my dark denim & yellow ribbon board. It's pretty big & hangs on one wall in the kitchen. I went to JoAnn's not knowing what I was looking for exactly, except that I wanted to do something with that same bright blue color & then maybe add dark brown or a cocoa brown color. I came across some dark brown polka dot fabric & since I love polka dots (& didn't find anything else I liked) I decided to buy that. Then I found some ribbon in the same color as our new kitchen towels & then added some big white buttons too.

Here's the new ribbon board:
And in it's spot in the kitchen:

I didn't even take the denim fabric off of the old ribbon board, just the old ribbon & then stapled the new fabric & new ribbon right on. Then I sewed the buttons & we now have a whole new ribbon board! So easy, inexpensive & it makes me feel better when I walk into the kitchen now that it's had some sort of little update! And this was a quick & easy project to do while waiting to have this baby! :)

Thursday, January 12, 2012

Monogram Frilly Frame for the Nursery

I'm sure you've seen all of the monogram takes on this fabulous IKEA frame in the blog world. Here's one I made for the new baby's nursery:
I loved this frame when I saw it at IKEA & was wondering what I could do with it. Then I found this fabric that coordinates with the nursery bedding (we already have the nursery set up, just moving the 2-1/2 year old out & the baby in) at JoAnn's & I knew I wanted to do some kind of decor with it for the new baby. Add in blogs & Pinterest where I started seeing this frame with all sorts of creative transformations & I decided on doing a monogram for the nursery. This was such an easy project too-just a little spray paint, fabric & a wooden letter! And I love how it turned out!
I know it's a little bright, but here's the nursery so you can see how it coordinates:
(Don't mind the baby stuff being stored in the crib!)
I loved this bedding when I found it at Target when I was pregnant with our last little girl. I love the bright pink for a change & the hint of green, instead of pastel baby colors. I am glad I finished this & got it all hung up before our little one arrives!

Monday, November 28, 2011

Handmade Christmas 2011: Photo Tile Coasters

A few months ago I saw these fantastic photo tile coasters over at the blog Oopsey Daisy. And I bookmarked the tutorial for future reference knowing this would make a great little Christmas gift. Since then I've seen these pinned all over Pinterest too. They are so cute & they were super easy to make & inexpensive-the best kind of handmade gifts! And I always love a chance to play around with resin! With my parents coming next week I suddenly was realizing I needed to get their gift done ASAP.
Luckily we had these awesome family photos from last year, so I made some photo tile coasters:

I just printed my photos in 4" x 6" size from Costco (only $0.13 each), bought shiny white 4" x 4" tiles (only $0.16 each), bought the small circle felt mounting circles (can't remember how much they cost, but not much for a lot of circles) & then bought a small box kit of resin (was $9.99, but I used a 50% off Michaels coupon).

So I just cropped my photos to 4" x 4" size & glued them down on the coasters with a glue stick. Then I covered the tiles with resin to seal it on there. Plus the resin will withstand the heat or cold that comes from placing a glass or mug on them. My tip with the resin is to follow the directions EXACTLY! And not to put too much on because it spreads & levels out by itself. I had some overflow over the sides which I then had to use a razor blade to scrape off later, but if you raise them up a little bit on something before you put the resin on it will just drip off over the sides & you probably won't have to do that. Tip for next time! I let them dry for 3 days & then just stuck the felt mounting circles on the bottom. Done! For the original tutorial for this & more detailed directions click here.

I decided to go ahead & make us a set too while I was at it:

I love them! They are so nice & shiny! And they really do look so much better in person than in my photos here.

I tied a pretty ribbon around the set for my parents & they're all ready for gifting:

Thanks to Alison over at Oopsey Daisy for the fabulous idea! You should just check out her blog anyway because it's great!

Thursday, November 17, 2011

"Yay for You" Cupboard Door Chalkboard


A couple of weeks ago our ward (church congregation) had a Super Saturday & this was one of the projects. What is a Super Saturday? It's a day full of fun crafts that you can sign up to make. I signed up for the cupboard door chalkboard. And then my hubby had to go into work & I didn't make it that day. But I was still able to get the cupboard door & do this project at home.


One of the ladies had gotten a bunch of cupboard doors for only $7 each! This one was unfinished so I first threw a coat of primer over the entire thing. Then I painted it the soft blue color. I got this color in a sample size at Home Depot, it's a Martha Stewart paint & was less than $2 & I still have a bunch leftover. Then I painted the raised center of the cupboard door with chalkboard paint. I ended up doing 4 coats of the chalkboard paint because I wanted to make sure it would work really well. Then I hot glued on some clips onto the bottom that I got at Staples.

Now the cupboard door that I chose was a big one. I mean, really big. I took this picture just to show you how large it is. It's all hung up in it's new spot in our kitchen above the girls' little table:

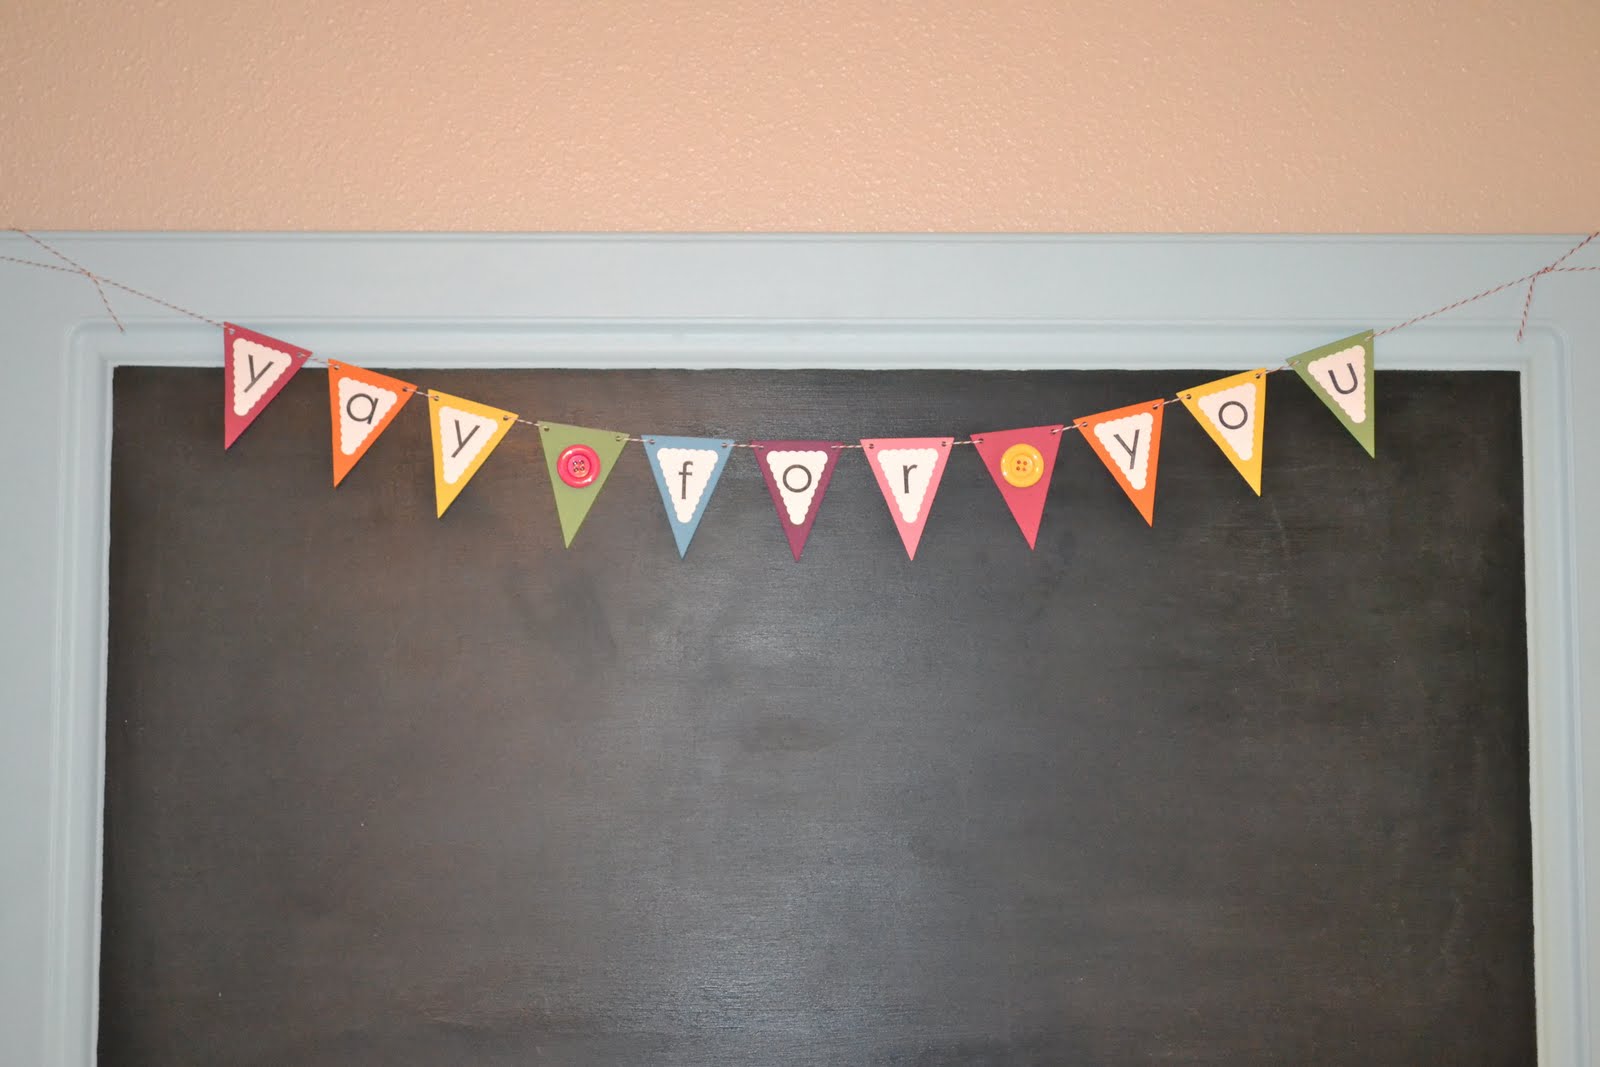
I had decided that I wanted to add some kind of sign saying "Yay for You" on it. I wanted this chalkboard to be a place where our family can write all of the good things we've been up to or the things we are proud of. And also a place where we can hang favorite artwork or awards or anything else special to us. I want it to help us do a little more positive reinforcement around our house & help our girls to strive to do well. So I decided to add a cute little pennant banner at the top that says, "Yay for You":
And I used my Big Shot so cutting out the pennants was super fast & easy. I love how the banner turned out! The colors really brighten the whole thing up & make it more fun.

Here it is already being put to use:
My kindergartner loves it! I think this is going to work out just great!

Thursday, September 22, 2011

Simple Autumn Wreath

I modeled this Autumn wreath after the Simple Spring Wreath I made way back in April. Yep, I've had that Spring wreath up ever since & now that our weather has been nice & cool & tomorrow is the first day of Autumn, I decided it was time to change the wreath. I have seen so many cute Autumn wreath ideas on blogs & Pinterest lately, but I decided to go with this one simply because I had everything on hand already ( well, except for the styrofoam wreath form). At first I was thinking of doing a Halloween wreath with black, orange, purple & green, but then I figured I better just make a more generic Autumn wreath that I can leave up for a bit longer. I did the same type of flowers that I made on the Simple Spring Wreath, except this time I used felt which is sturdier & fluffs up nicely which I love! Another simple & inexpensive decoration for our home!

*If you want to see a tutorial on how to make the cute flowers check out this post over at Make It and Love It (scroll down past the baby hat part). So easy & I love how different fabrics give the flowers a different dimension!

Wednesday, September 7, 2011

2012 Desktop Calendars

My 2012 Desktop Calendars are here!

(Sorry there's a little glare on the photo since I took the pic outside.)

I am so excited to be able to offer these to you again this year. They're the perfect size for sticking on top of your desk or on a bookshelf or on the counter by your phone. They are the perfect little gift for everyone on your list-family, friends, co-workers, teachers, etc.

The calendar will come packaged as shown in the photo above. You will receive the calendar pages (12-one for each month of 2012), a clear plastic frame (4" x 6" size) & pretty red ribbon. Each calendar page is professionally printed as a 4" x 6" photo & then you insert the current month into the clear plastic frame. The ribbon holds it all together, with the extra months pages behind the frame, making it look pretty for gift giving!

Here's a sample of the pages for the entire year:

Are you ready to order?

Just email me any time!

The 2012 Desktop Calendars are $7 each
(add $3 for shipping)
I accept cash, check, credit card, PayPal

Tuesday, August 30, 2011

Summer Quilted Table Runner

This project has been on my to-do list all summer long! I have been wanting to make a quilted table runner ever since I came across this great tutorial over at Diary of a Quilter. Well, finally with one week left before school starts I made mine! I love these bright fabrics! Perfect for a summer table runner don't you think? And it was so easy to make too which is awesome. I think I'm going to have to leave it out until Christmas just because I love it so much! Or maybe I'll make one for Halloween or Fall, that would be really cute too.

Here's a close-up of the simple strips:
And I just used the simple blue floral fabric on the back which looks really pretty too:
Thanks to Diary of a Quilter for the great table runner tutorial!

Monday, July 18, 2011

New Summer Decor

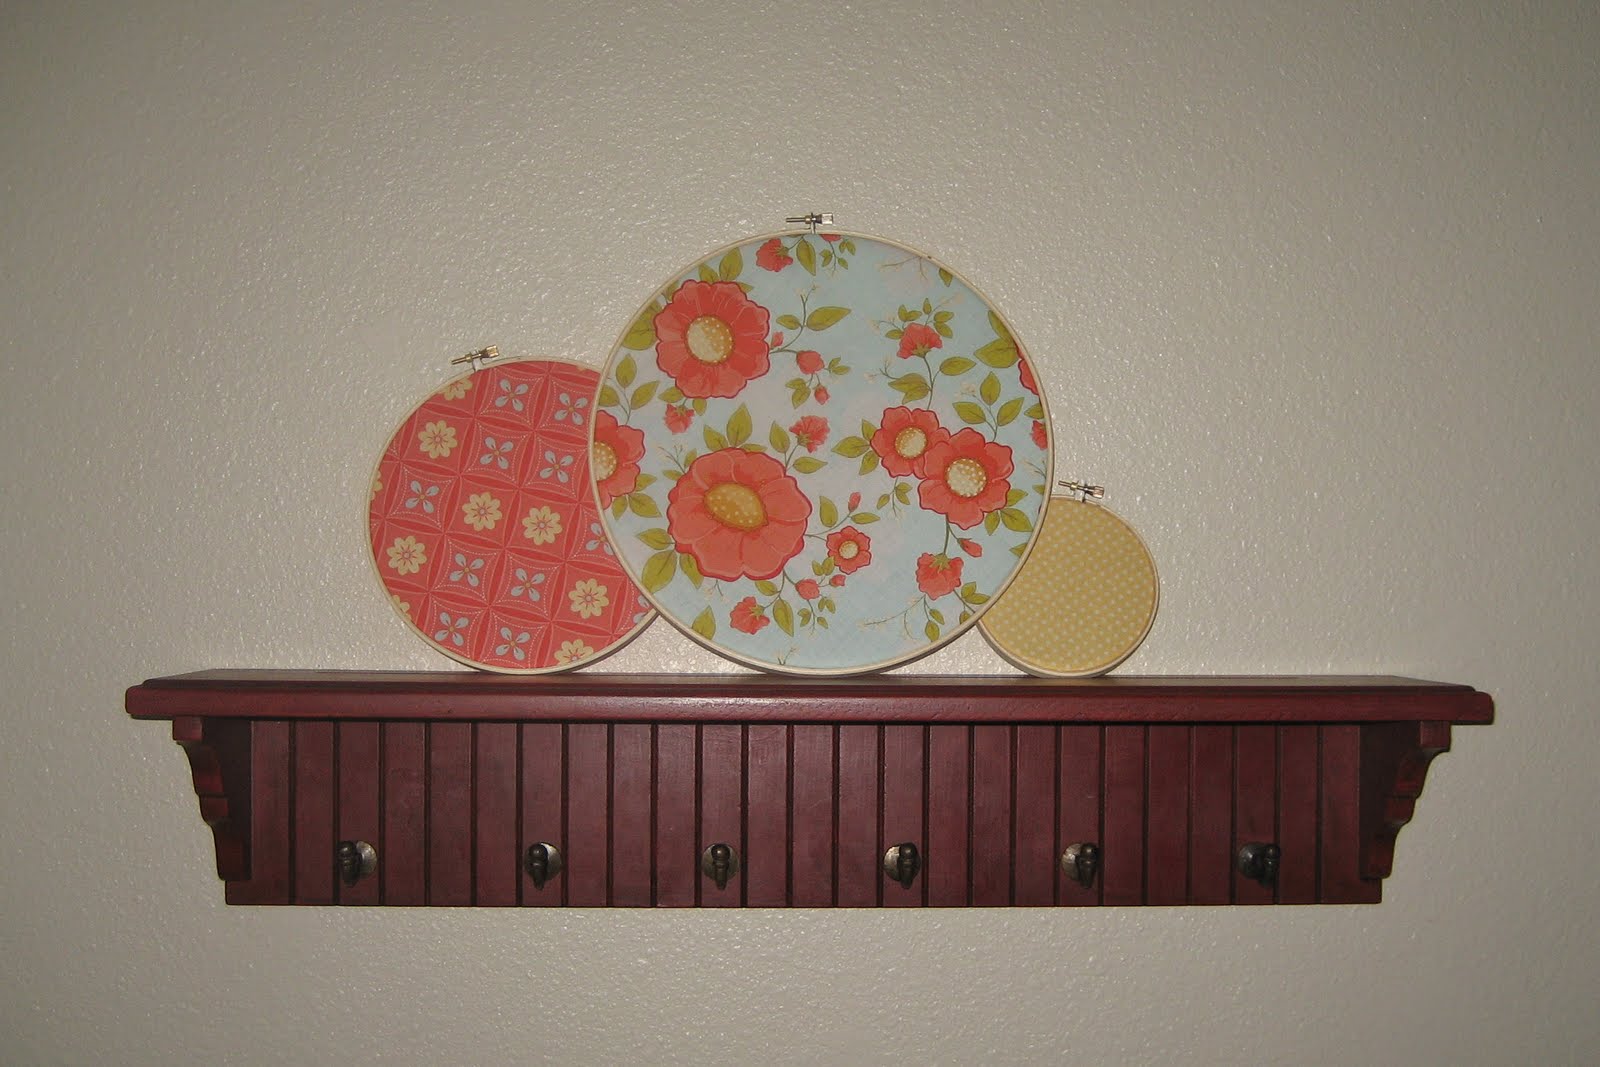
I have this little red shelf in our entryway that I like to use to display seasonal or holiday crafty cuteness on. For summer I wanted to do something new. I love the look of these embroidery hoops that I have been seeing everyone use. What a cheap & interesting way to decorate! I had bought this fabric which I love, love, love! It just looks like summer to me. So I stuck some in the embroidery hoops-done! Now I have been looking at them on my shelf though, wondering if I should do something else to them??? Maybe some type of embellishment? Fabric flowers? I don't know!

Thursday, April 7, 2011

Simple Spring Wreath

I jumped on the Spring wreath bandwagon this week & made my own. I've been seeing so many on people's blogs that are just so cute! If it looks off-centered in the photo, that's because it is! I don't know why, but that clear wreath hanger doesn't work well on my front door & made the wreath very crooked. I actually have the wreath hung on a door inside of our house, but the lighting was absolutely horrible in there for taking a photo. Oh well, you get the idea. So I've been on this 3 flower thing for a while & that's what I did on this wreath as well. I wanted my wreath to be very simple, but I'm thinking that maybe it's too simple. Maybe I should add a couple more flowers? I loved using the burlap to wrap around the styrofoam wreath-so fast & easy! And it adds such a nice texture too. I also love these colors in the fabrics-cocoa brown, apricot & ocean blue. Such happy colors! I am so glad that Spring is here!

Monday, April 4, 2011

A Hint of Easter

Can you believe that Easter will be here in 3 short weeks?!?!?! I really can't believe it is April! Wasn't it just Christmas? Time Flies! Well, I have slowly been making some decorations for Spring. I don't really have any specifically for Easter so I made a couple of quick projects this week.
This first idea I got from the girls at eighteen25. They simply bought some cheap, plastic Easter eggs at Target (they already have holes in each end) & strung them together & hung them up. So easy! Mine were a little heavy, so I had to swag them to give some support in the middle.
It adds a nice touch to our mantle:
To see theirs & also to check out their latest Spring subway art click here.

This next project was just as easy. I've had the white "Happy Easter" vinyl for a couple of years now & just hadn't done anything with it. So I bought a pack of think 11 x 14 flat canvases at JoAnn's. They were really inexpensive, plus I used a coupon-yay! I simply painted it a pretty light purple color, let it dry well & then stuck my vinyl on.
Here it is:
Nothing fancy, but it looks nice. I've been debating if I want to embellish it or not. Maybe some cute buttons or fabric flowers? I don't know?

Well that does it for our Easter decor around here! At least for now!

Thursday, March 31, 2011

Embroidery Hoop Art for Spring

I have been seeing all sorts of these cute embroidery hoop art pieces on crafty blogs for a few months. I am so grateful for the Internet & for the inspiration of all of you crafty people out there, by the way! So I've been meaning to shift gears at our house & welcome spring. I thought I'd give one of these embroidery hoops a try. (Of course as I went outside to take the photo I grabbed it wrong & now it puckers over there on the left where my fingers slipped. Oh well, just ignore that!) So I wanted mine to have a vintage feel to it. I used my Silhouette machine to cut out this cute doily shape on some flocked white heat transfer. Then I ironed it onto some muslin fabric which I then put into the embroidery hoop. To embellish it I made the 3 fabric rosettes from some scraps of Stampin' Up! fabric that I had. I had never made rosettes before. To be honest I actually hated these ones at first. I was going to rip them off & try something else, but now that I am getting used to them I am really liking them. Funny how that happens! To finish the rosettes off I simply glued some pearl beads in to the center.
Here's a close-up:
I wish you could see the flocked heat transfer doily in person, it really looks cool! And overall this was a really quick & inexpensive project-which I love!

Thursday, February 3, 2011

Chalkboard Vinyl

I got my first Sale-a-bration order last week! Love it all! One item I chose was the chalkboard vinyl. This is so fun! I hung it on a cabinet in my kitchen so that I can easily jot down grocery items, Target items, phone messages, love notes, etc. The black vinyl is actual chalkboard that you can write on with chalk & erase & use over & over again! The white "notes" is vinyl that is applied on top of the chalkboard vinyl. It was so easy to apply & when I get sick of it up there it will be super easy to just peel off too without damaging the cabinets.
Here it is, a clean slate:
I have some chalkboard markers that I just love. There are so many fun colors & they are so much more vibrant than regular chalk. And they wipe off easily too.
Here it is in use:
So fun! And my preschooler loves writing & drawing all over this too!
Remember, you can get this for FREE too if you place an order during Sale-a-bration!