Showing posts with label Tutorials. Show all posts

Thursday, June 21, 2012

You Are Special Plate {Tutorial}

Hello blog friends!  Yes, I am still here, just busy, busy, busy!  I am finally managing to put a blog post together today.  Not just a blog post either, but a little tutorial.  Yipee!  Now I can't take credit for this project, my good friend, Anya, showed me how to do this a few years ago.  

Today I am going to show you how to make your very own "You Are Special" or "Happy Birthday" or whatever you want plate!  Did you have a "You Are Special" plate growing up?  We did.  It isn't the usual red one that I've seen but is a metal charger that you actually put underneath the plate you're eating on.  After years & years of use, however, it isn't looking so pretty anymore.  And when I searched these plates online I was so surprised about how expensive they are!  So, time to make my own!  Plus, we had a Super Saturday a few weeks ago at church (basically a day of crafting) that I was helping out with & we decided to make these plates there too.  

Here are the plates I made:


Want to make your own?
Here's what you need:


Plates 
(I got both of the plates above at IKEA for only $3.99 each.  Since we were doing this project for our Super Saturday at church I bought white plates, but you can always use different colored plates as well & they turn out super cute.  Just make sure whatever plates you buy are oven safe.)

Ceramic Marker
(I bought the Pebeo Porcelaine 150 marker.  There may be other types of ceramic markers as well, but this is the type I had used before.  I bought mine at MarkerSupply.com for $3.69 each.  You may be able to find them in your local craft store or at a ceramics store too.  For my samples I just used the black marker, but they have other colors as well which are really fun.)

Stamps

Ink Pad (water based)

Step 1:

Now if you like you own handwriting you can just simply skip this step & use the ceramic marker right away.  I am not crazy about my own handwriting, so I like to stamp on the plates first & then trace it with the ceramic marker.  So, using your ink pad, stamp out what you want your plate to say with the stamps.  You can also stamp any images you want too.  The great thing about doing this first is that you can see what your plate will look like before you use the ceramic marker.  Also, if you make a mistake or want to change something just simply use a tissue or a baby wipe to wipe off the ink & start again.  I use a lighter colored ink pad so that I can see what to trace, but it won't show up under the ceramic marker.

Step 2:

Trace over what you have stamped with the ceramic marker.  If you make a mistake you have a couple of minutes before the marker gets tacky so you can use a baby wipe or a wet cloth to wipe it off & start over.  After a couple of minutes, though, it's not so easy to wipe off.

Step 3:

Let your finished plate dry for 24 hours.

Step 4:

Bake your plate in a 300 degree oven for 35 minutes.  This sets the marker.  Now you can use your plate!  You can even put it in the dishwasher & it holds up just fine!

These really are so, so easy!  And there are so many ways you can make these & get creative with them.  You could also make a "Cookies for Santa" plate, monogrammed plates or decorate them for any holiday.  These make great gifts too!  

Now after we made these at our Super Saturday at church a couple of weeks ago my friend showed me on Pinterest a plate like this where the person used a Sharpie marker & baked it too.  I'm sorry I don't have the link for it.  I haven't tried it that way, but you could always give the Sharpie a shot & see how it goes.

If you want to see some of the plates I made in the past, click here.

Monday, October 4, 2010

Tutorial: Ribbon Board


Today I thought I would share a tutorial with you (my very first "official" tutorial here on the blog) for making these super cute ribbon boards. These are fairly inexpensive & are so quick & easy to make! These are great to make & give as gifts too. Ribbon boards are a fun way to show off your favorite photos or to hold notes, cards, or whatever else you might want to stick in a safe spot!

I have a large square one that I made for a huge wall in my kitchen. Every few months I have to sort through & reduce the amount of stuff on our ribbon board because it just gets a little crowded, but that's the fun of it too, being able to change it up whenever you want! This is what it looks like after a few months of adding stuff onto it:

Here it is all cleaned off:


I even made one a couple years ago that I put up with our Christmas decorations. I've found that fabric with a small print on it works the best for these boards. This ribbon board we use to display all of the photos we receive in holiday cards:

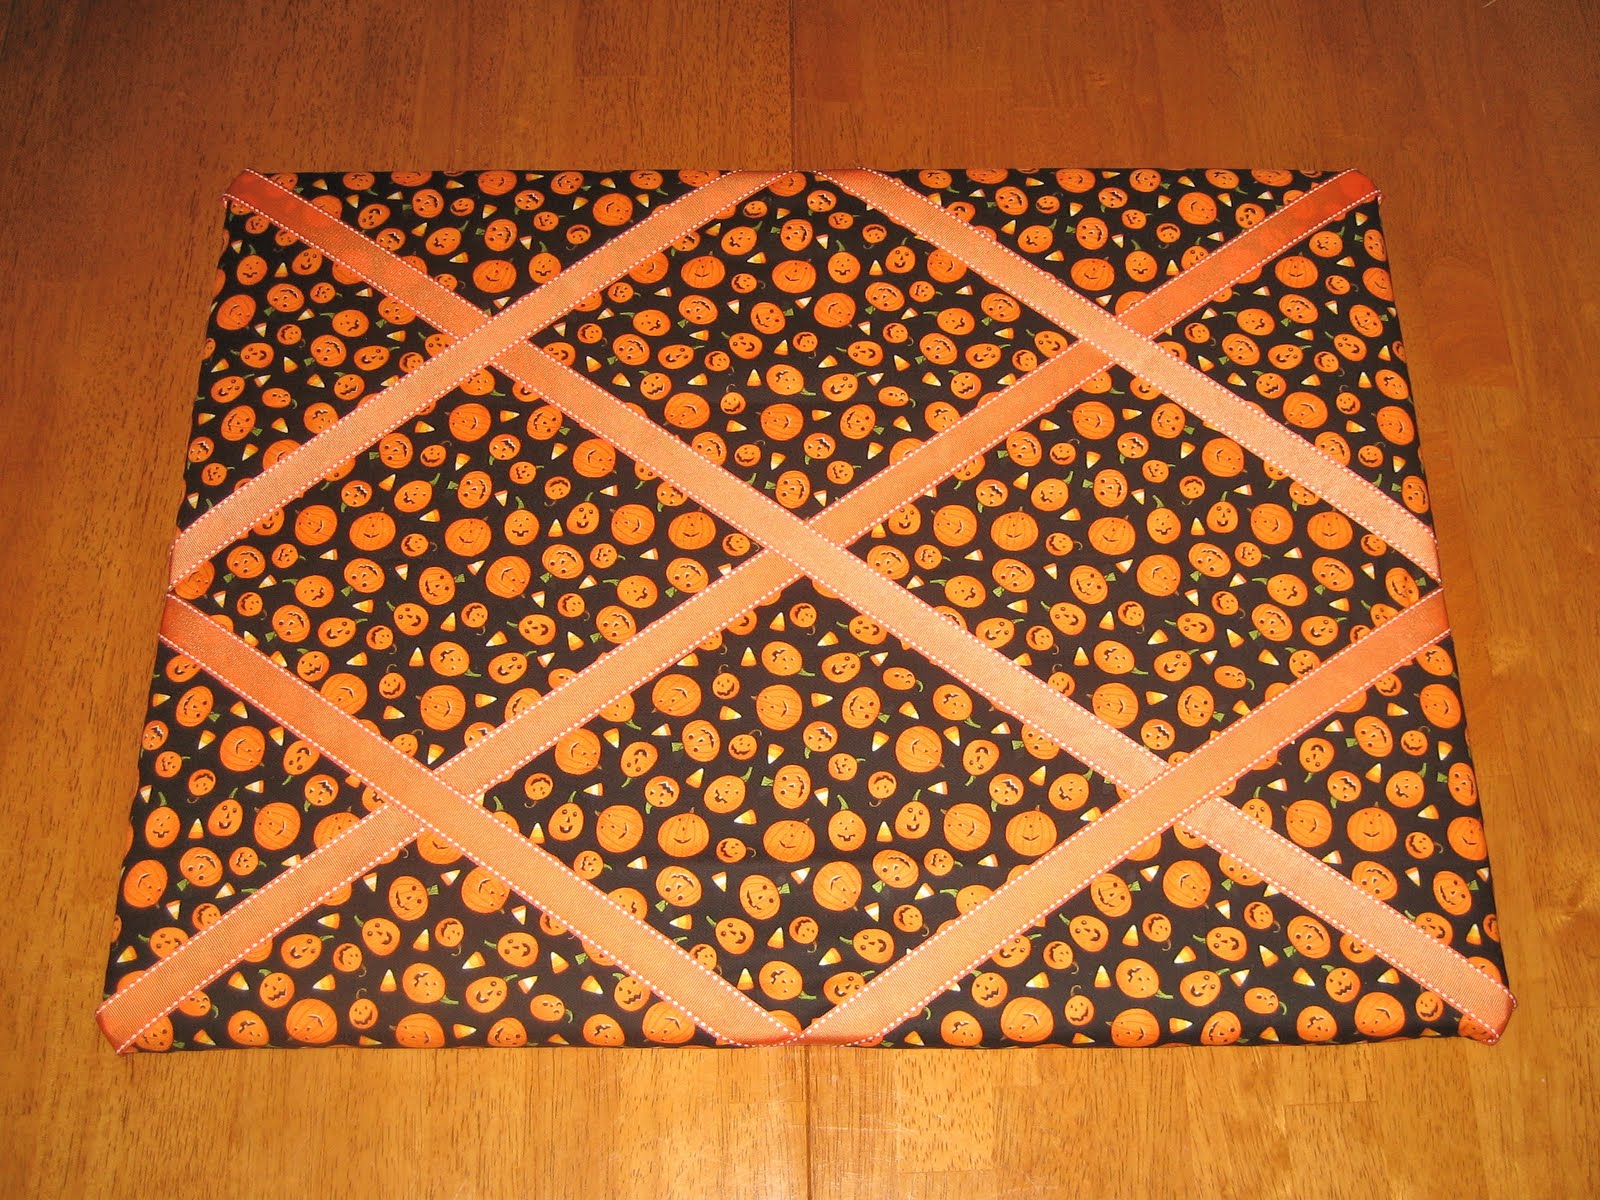
I've been wanting to make a Halloween-themed ribbon board that I could put up for the month of October, just to add some more Halloween decor to our house. So this is the one I am sharing with you today.

First, here's what you'll need before you get started:

Canvas (mine is 18" x 24"-just the cheapest I can find)
Batting (depends on the size of your canvas, I used a little less than a yard)
Fabric (again, depends on canvas size, I bought 1 yard)
Ribbon (approximately 4-1/2 yards, I bought a spool of 5 yards)
Buttons (5)
Embroidery Floss
Needle
Fabric scissors
Staple gun


Start with your canvas:

Lay your canvas upside down on the fabric & cut around the canvas about 2 inches out (the great part is your cutting doesn't have to be perfect or even straight since this will be on the back of the board):

Next, lay the fabric you've cut on top of the batting & cut the batting out the same size as the fabric:

Now lay the canvas upside down on top of the batting you just cut. I like using a layer of batting on the ribbon boards because it adds a nice puffiness to the board. You're going to "wrap" the canvas with the batting. Just start at one side & wrap the batting around the edge of the canvas & use your staple gun to staple the batting into the wood frame of the canvas:

When you get to a corner, cut off any parts of batting that will overhang onto the back because you don't want it to be too thick:

Your corner doesn't have to be perfect & then just keep stapling the batting around the canvas, moving around the edges until the entire canvas is covered with batting:

Here's what it will look like when you've covered your canvas with the batting:

Next lay your batting covered canvas upside down on top of the wrong side of your fabric & start wrapping the fabric around the edges & use your staple gun to attach the fabric to the wood frame as well:

When I get to the corners with my fabric I just fold it nicely, almost like I'm wrapping a present, & then staple it down. Remember, you're not going to see the back of the board, so if it looks a little sloppy that's okay! Here's what the canvas looks like when it's covered in the fabric:

Now it's time to cut the ribbon. I just lay the ribbon out, hanging over the edges a couple of inches & then cut. I start with the longest pieces, going from corner to corner first:

Then I cut the rest of the ribbon. You'll need 4 other pieces. These will start at the middle of each side & go to the middle of the side next to it. Did that make sense? I hope this photo helps:

I start by attaching the longest pieces first, from corner to corner. I just wrap the ribbon around the edge & staple it down on the back:

Once both of the longest pieces are stapled down I attach the other smaller pieces. Just pick one of the sides, lay the ribbon down first, then flip the board over & staple the ribbon on the back:

So here is what the ribbon will look like on the back after you've stapled a few pieces down:

Here's a photo showing you how I add the ribbon, just meeting the ends of the ribbon up in the middle of each side:

And here's the board with the ribbon all stapled down:
This is how it looks on the back, usually I trim the ends of the ribbon a little:
Now it's time to add the buttons. The buttons are not only super cute, but they attach the ribbon to the board which is how you are then able to stick photos or papers onto the board without them falling out. Wherever 2 pieces of ribbon cross you'll want to sew a button. So you'll have 5 buttons total. I always start with the button in the center:
I just sew it on with a needle & embroidery floss. After you add the buttons your board will have a nice puffy look to it now too. And it is so easy to attach the buttons because the needle goes through the canvas really easily:
Once you're done sewing all of the buttons on you'll have to figure out how you want to hang your board. The easiest way I've found is to attach some yarn to the sides on the back of the canvas. This way I can hang the yarn on a nail in the wall & just slide it back & forth until it hangs straight.
Now you're done with your adorable ribbon board so find a good spot to hang it up & show it off! I hung my Halloween ribbon board in my kitchen with a cute Happy Halloween vinyl lettered board above it:
I love it!

If you have any questions, leave a comment or email me.
And I would love to see any ribbon boards you've made too!